Most kitchens don’t get “gross” in one big dramatic moment.
It’s the slow stuff. The little splatters that harden overnight. The fryer mist that lands on the wall and becomes this sticky film you stop noticing. The crumbs that end up in the same corner every single shift. And then one day, you’re deep cleaning for six hours, scraping gunk that could’ve been wiped in ten seconds.
The fix is not some fancy chemical. It’s not buying another tool.
It’s closing the same way every night, even when you’re slammed. Especially when you’re slammed.
Here’s the 30 minute daily closing checklist we recommend if you want to cut grease buildup, reduce odours, keep pests away, and make your weekly or monthly deep clean way less painful.
This is written for real kitchens. Uneven pacing. Quick wins. No perfection. Just consistent.
The rule that makes this work
You’re not trying to make the kitchen “deep clean” at close.
You’re trying to remove fresh grease before it cures.
That’s it.
Grease that sits overnight gets thicker, darker, and harder to remove. Day after day, it becomes a film on stainless, a coating on tiles, a slick layer behind equipment, and a buildup in places inspectors love to look at.
So we focus on high touch and high grease zones, fast.
Set a 30-minute timer (and split it)
If you have two closers, run this as 2 people x 15 minutes. If you’re solo, do the whole 30.
Either way, set a timer. It changes everything. No wandering.
What you need ready first (2 minutes):
- Degreaser in a labelled spray bottle (food safe where needed)
- Sanitizer bucket or spray
- Microfiber cloths (at least 3, don’t fight with one sad rag)
- Scrubby pad or non scratch sponge
- Floor squeegee or mop setup
- Garbage bags, gloves
Now go.
The 30-minute daily closing checklist
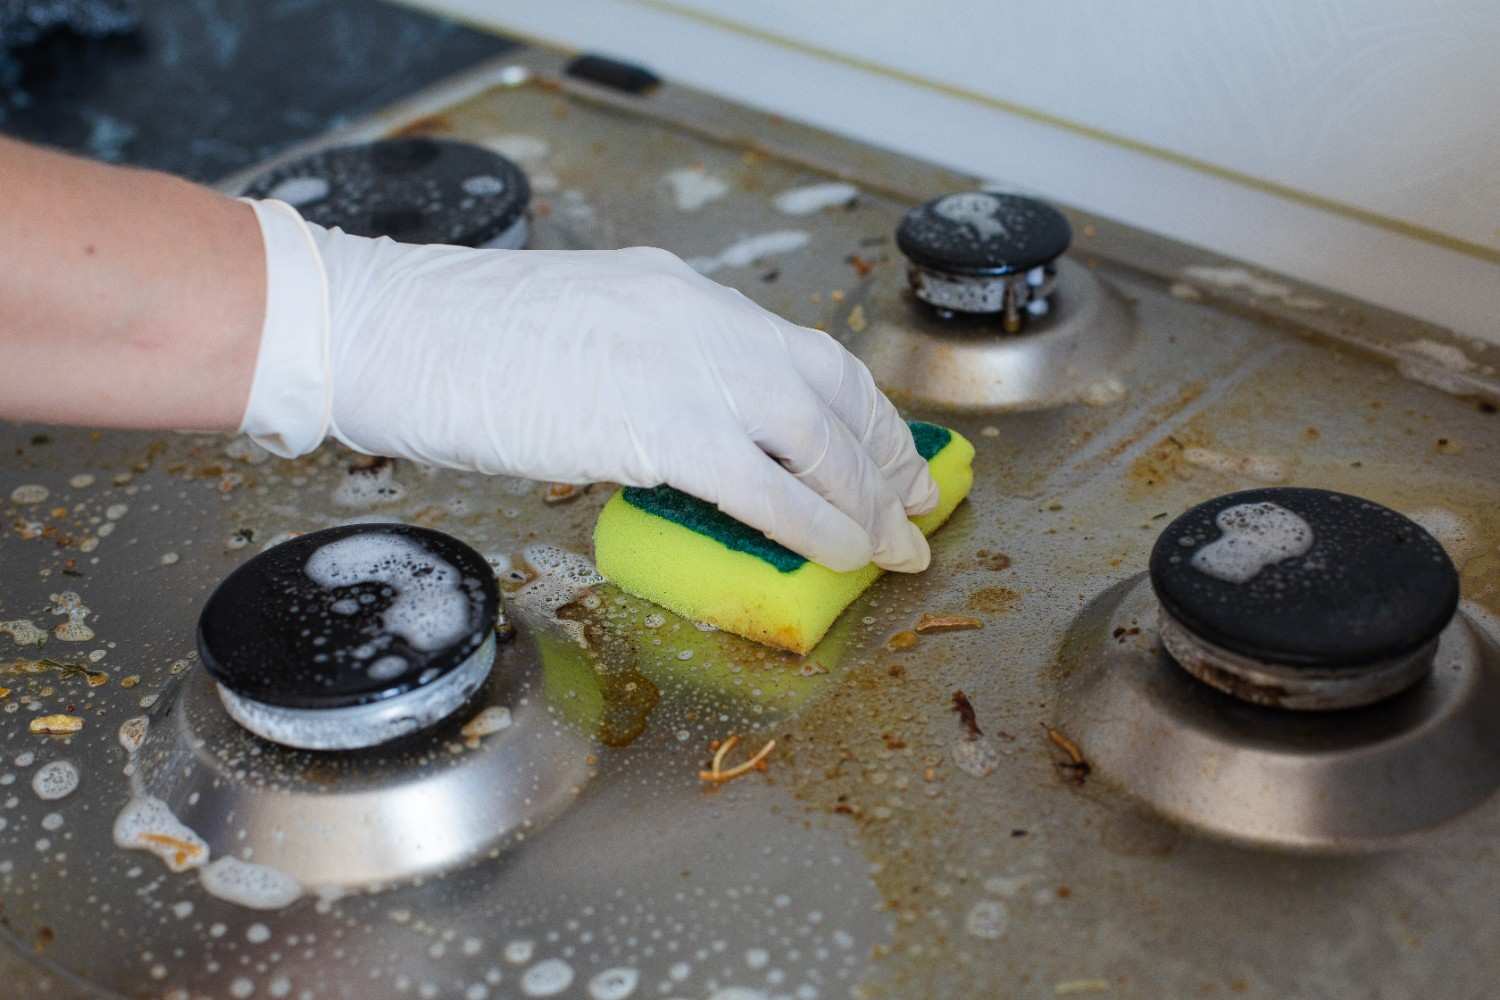
1) Kill the “grease triangle” first (8 minutes)
This is the area that quietly ruins kitchens: fryer line, flat top, and the wall behind them.
Do this in order:
- Wipe the front and sides of fryers and ranges. Get knobs, handles, edges. Quick wipe first, then one focused pass.
- Hit the backsplash and wall area behind cooking equipment. Especially the seam where wall meets counter. Grease lives there.
- Wipe the stainless ledges and the underside of the shelf or pass above the line. That underside gets ignored constantly.
This is where you get the biggest grease reduction per minute. If you only do one thing nightly, do this.
2) Flat top and hot surfaces (5 minutes)
If your flat top procedure is already solid, great. The key is the follow up wipe.
- Scrape and clean per your normal method.
- Wipe surrounding stainless, the grease trough area, and the front lip.
- Check the sides of the unit where hands touch and grease smears.
Same idea for charbroilers and ranges. You’re not rebuilding it nightly. You’re stopping spread.
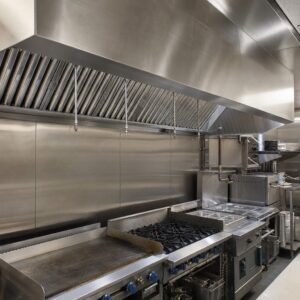
3) Filters, hood edges, and the “drip line” check (4 minutes)
No, you’re not taking hood baffles to the sink every night. Not unless that’s your system.
But do this:
- Visually check hood filters and the lower hood edge.
- If you see fresh drips or tacky buildup starting, wipe the accessible edge.
- Look up at the light covers and corners. If they’re getting hazy, that’s grease traveling.
If you’re seeing frequent grease drip or heavy haze, that’s a sign the system needs professional exhaust cleaning. And that’s not cosmetic. It’s safety. This is where NFPA 96 standards come into play for commercial kitchens.
If you’re in Southern Ontario and you want a proper hood and vent clean, that’s exactly what AquaForce Power Clean does. Their info is here: https://aquaforce.ca/
Just get a quote and stop guessing.
4) Floors where grease settles (6 minutes)
Grease doesn’t just stay on the line. It ends up on the floor, then gets tracked.
- Sweep tight to the cooking line and under the front edge of equipment.
- Spot degrease the worst zones. Usually: in front of fryers, dish area transitions, and the corner where the mat ends.
- Mop or squeegee with intent. Don’t just “wet the floor”. Actually pull the water off.
If your floor is still slick after mopping, you’re spreading grease, not removing it. Adjust chemical strength, water temp, or both.
5) Garbage, bins, and the stink sources (4 minutes)
This is where odours and pests start.
- Take out garbage and cardboard.
- Wipe the lid handles and rim of bins.
- Quick spot clean under where bins sit.
Not glamorous. But it prevents that sour, greasy smell that shows up the next afternoon.
6) Final touch points (3 minutes)
These little things keep the kitchen feeling “clean” even when it’s busy.
- Wipe: cooler handles, prep table edges, sanitizer bottle drips, fridge gaskets if they’re messy.
- Check: hand sink area, soap residue, paper towel bits.
- Put cloths in the right place. Don’t leave wet rags on stainless overnight.
The 2-minute closer audit (do this before you lock up)
Walk the line and ask:
- Do I see any shiny wet grease on walls or stainless?
- Is there any standing water on the floor?
- Is there any food debris in corners?
- Do I smell fryer oil in the air more than normal?
That last one matters. Strong oil smell often means grease is hanging around on surfaces, not just in the fryer.
When daily wiping isn’t enough
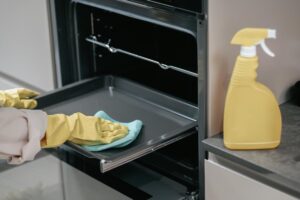
Even with a good closing routine, commercial kitchens still need deep cleaning. Especially:
- Behind and under cooking equipment
- Detailed equipment degreasing
- Hood, duct, fan, and rooftop exhaust system cleaning
- Ceiling tiles, wall joints, and high ledges where grease mist lands
If you’re noticing recurring grease film, hood haze, drips, or you’re prepping for an inspection, it’s probably time to bring in a pro crew.
AquaForce Power Clean handles commercial kitchen deep cleaning and exhaust and hood cleaning across Southern Ontario, with a focus on safety and code compliance. You can request a quote here: https://aquaforce.ca/
Print this and keep it simple
A closing checklist only works if people actually do it. So keep it short. Keep it timed. And don’t make it “perfect”, make it repeatable.
Thirty minutes a night is the difference between a kitchen that always feels slightly greasy… and a kitchen that stays under control.
FAQs (Frequently Asked Questions)
Why does grease buildup happen gradually in commercial kitchens?
Grease buildup in kitchens occurs slowly over time from small splatters, fryer mist, and crumbs that harden and accumulate overnight. Without consistent cleaning, these residues become thicker, darker, and harder to remove, forming sticky films on walls, stainless steel, tiles, and behind equipment.
What is the most effective way to prevent tough grease buildup in a busy kitchen?
The key is consistent daily closing cleaning focused on removing fresh grease before it cures. This involves following a 30-minute checklist targeting high-touch and high-grease zones every night—especially when the kitchen is slammed—to cut grease buildup, reduce odors, deter pests, and make deep cleaning easier.
What areas should be prioritized during the 30-minute daily kitchen closing routine?
Focus first on the ‘grease triangle’—the fryer line, flat top, and wall behind them—by wiping fryers’ fronts and sides, backsplashes, stainless ledges, and undersides of shelves. Then clean flat tops and hot surfaces, check hood filters and drip lines for grease buildup, mop floors where grease settles, manage garbage bins to control odors and pests, and finish with wiping touchpoints like cooler handles and prep tables.
How should floors be cleaned to effectively remove grease buildup?
Sweep tightly along cooking lines and under equipment edges to collect debris. Spot degrease high-traffic zones such as in front of fryers or dish areas. Mop or use a floor squeegee with intent—don’t just wet the floor; pull water off completely. Adjust chemical strength or water temperature if floors remain slick after mopping to ensure grease is removed rather than spread.
What tools and supplies are essential for an efficient 30-minute kitchen closing clean?
Prepare degreaser in labeled spray bottles (food safe where needed), sanitizer bucket or spray, at least three microfiber cloths to avoid cross-contamination, scrubby pads or non-scratch sponges, floor squeegee or mop setup, garbage bags, and gloves. Having these ready helps maintain quick pacing without wandering during cleaning.
When should professional exhaust hood cleaning be considered in commercial kitchens?
If frequent grease drips or heavy haze appear on hood filters or light covers despite nightly wipe-downs, it’s a sign the exhaust system requires professional cleaning. This isn’t just cosmetic; it relates to safety standards like NFPA 96. For example, in Southern Ontario, services like AquaForce Power Clean provide thorough hood and vent cleaning to maintain compliance and safety.